|
|
|
Click here for A Sour dough bread recipe
20 minute cook 18 Minute cook (both yummy)
Dick's Superior Daily Bread, 3 loaves
Make a sour dough Starter
Or Dick will give you a tad of starter from his 10 year old (roughly).
To make the bread, start with;
2 3/4 Cups Water 110 Degrees F add 1 Level TBS Store Bought Yeast (I get the water swirling first) Let sit while you
Combine in a bowl: 4 Cups Flour, unbleached 2 H-TBS WW Flour 3 H-TBS Wheat germ Stop for a moment and stir water/yeast above (handle of wooden spoon)? 3 H-TBS Flax meal 1 1/2- Level TBS Salt 3 H-TBS Gluten Stop for a moment and stir water/yeast above (handle of wooden spoon)? And stir/mix/fluff with spoon or something.
Then:
To 1 1/2 Cups Starter (in a BIG bowl) Add the Water yeast mixture And stir a bunch
To that add the dry mixture stirring with a wooden spoon until mixed, Add unbleached flour as needed until the consistency is such that it can be kneaded with hands (an additional cup or thereabouts). Knead adding flour for a minimum of 7 minutes (lest it be too crumbly). I knead inside the large bowl.
How much to knead it requires experience doing it. A rough rule is, if you reach the point where the sticky-ness is such that you can un-stick your hand by rolling it away (off) the dough its about right, it should be fairly firm.
Lightly coat the dough ball with flour and put into a bowl, cover (I use a pillow case for a cover) and proof it for 15 minutes in a 170 degree oven (heat to 170 and turn it off).
When your timer lets you know when times up, place ball on board ( a little flour?) kind of flatten and cut into 3 equal weight pieces (I weigh them), adjusting as needed (cut and paste).
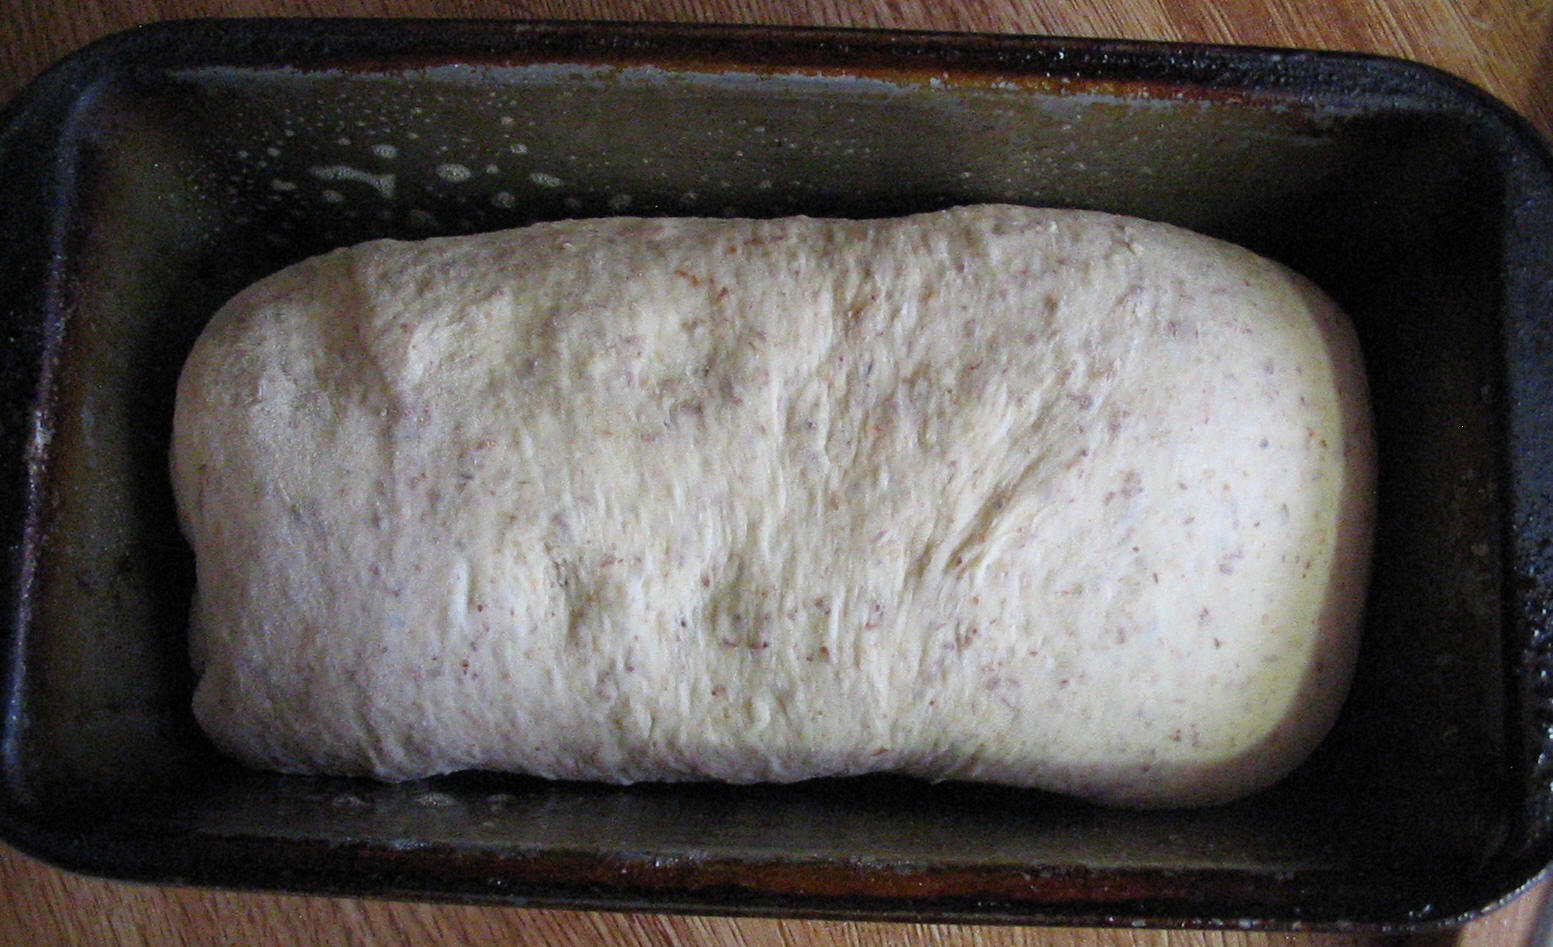
Spray 3, 9in bread pans with Pam or equivalent.
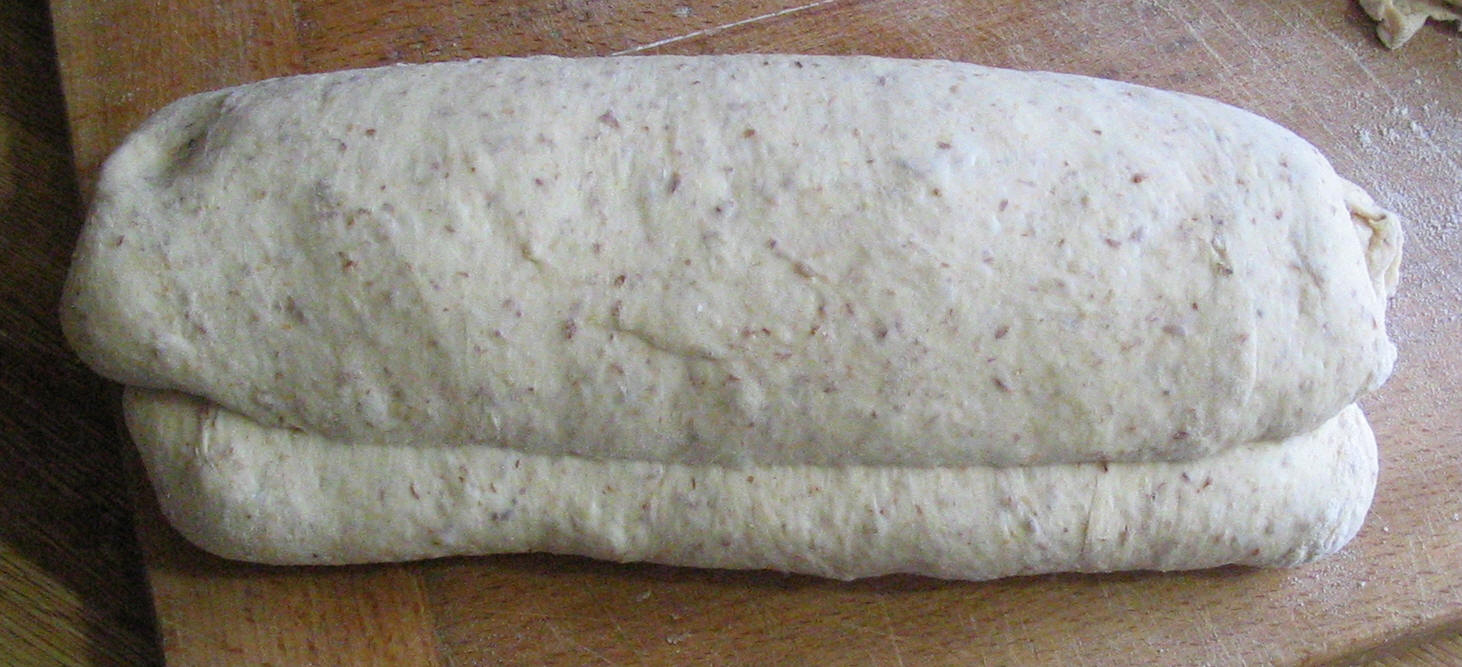
To make loaves it is important to do it correctly in order for the loaves to rise consistently. Take each piece and lay them, one at a time, on the board (ugly side up), kind of flatten long-ish and roll the two ends toward the center pressing (sealing) with the tips of your fingers or heal of your hand as you go. Make them even so the rolled parts are equal then roll the two rolled ends into a final roll pressing the seam with the heal of your hand. You can roll and seal and roll and seal pulling outward as needed to make them a reasonable length for the pans. The seam goes on the bottom.
Let the covered loaves rise in a warm place (I use a 170 degree oven (heated to 170 and turned off)) until they are mounding above the top of the pans. I remove tem from the oven an put them on the counter until they are some what rounded out (above) of the pan. If all is done correctly the bread will rise additionally after they go into the oven, its referred to as "oven spring".
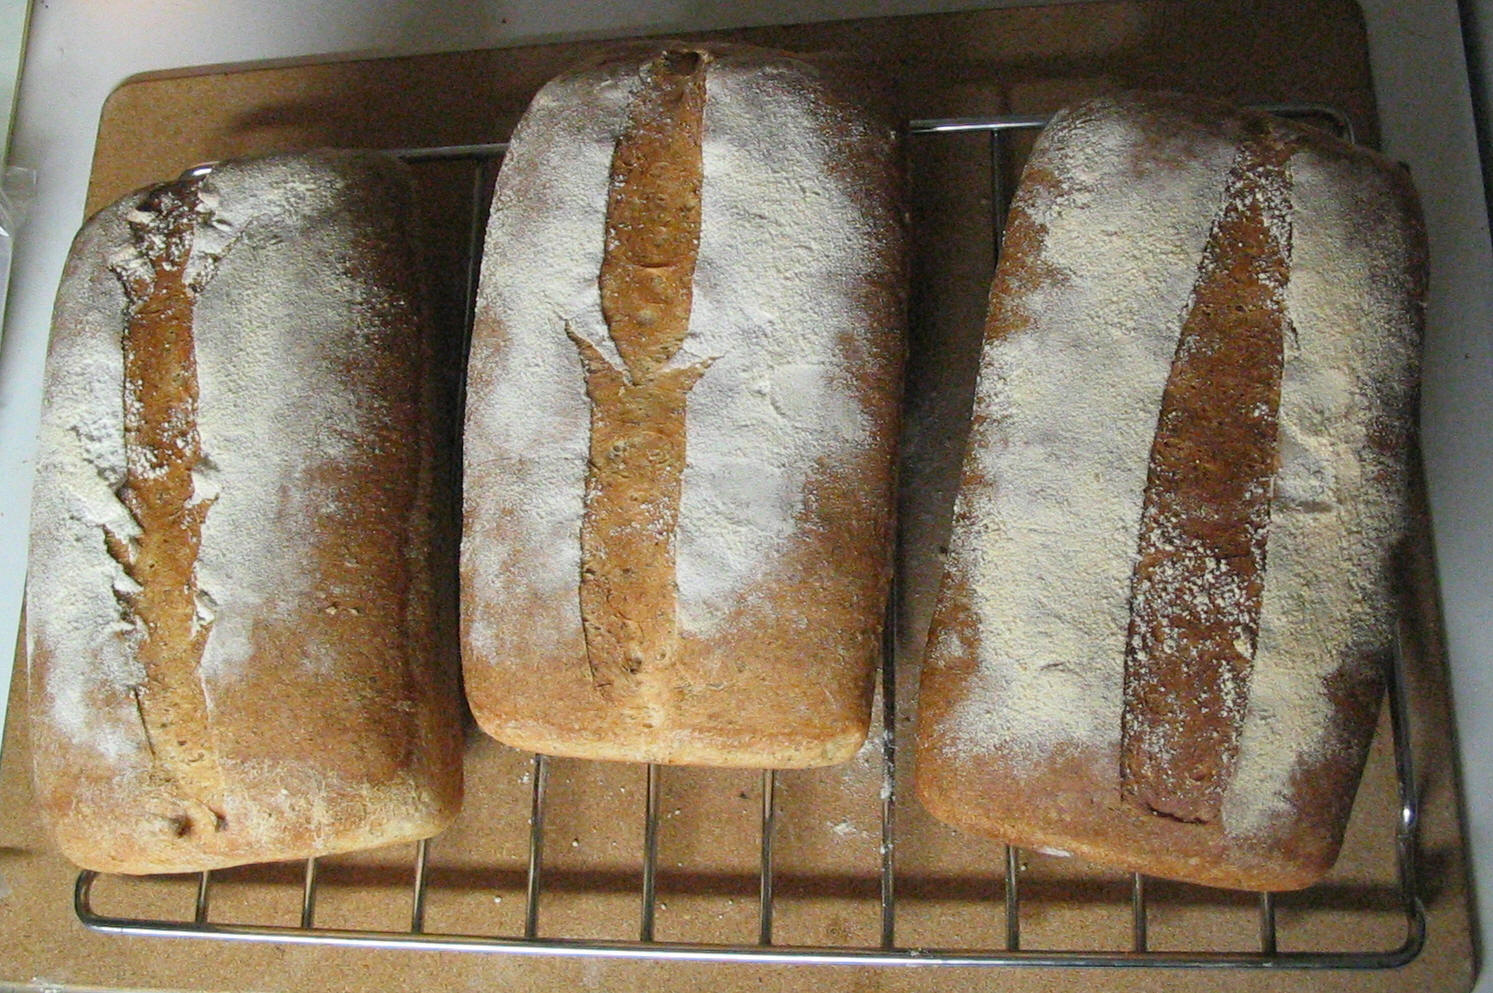
Artisan aspect is up to you, get a lame or use a razor blade as I do. I slice the top just before turning on the oven. Occasionally I slice my finger, razor blades are very, very sharp. I do not recommend slicing your finger (or other parts of your body) as it hurts.
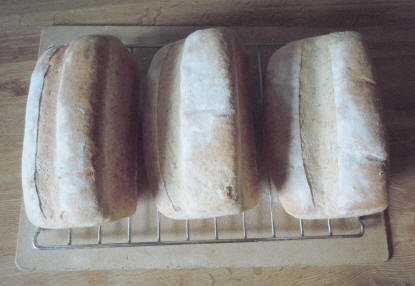
Put a little pan or something into the bottom and preheat oven 450F. Add loaves and a small amount of water into the pan and bake for 18 minutes. Lay loaves on their side on a rack until cool before bagging. Ovens DO vary, a test for doneness is to tap the bottom and it should have a hollow sound, my old oven took 45 minutes to preheat and to cook the bread.
Nothing here is absolute, I have changed, improved, added and whatever many, many times, in fact I just did 10/11/2013
Freedom isn't just doing anything you want, it is deciding what not to do.
|